How to Jumpstart a Car Safely Without Damaging the Battery
| Sr. No. | Table of Contents |
|---|---|
| 1 | Basics of a Car Battery and Jumpstarting |
| 2 | Jumpstart the Car Safely: Step-by-Step Process |
| 3 | Conclusion |
You are all dressed up to leave for an award night, and you start the ignition key, and hear nothing but silence. Frustrating, right? Many drivers experience this situation once in a while. The real trouble? When a jumpstart goes wrong, it increases the risk of damaging the battery or other components.
Fortunately, a safe and correct jumpstart is required to get yourself to the road in minutes without risking the electrical system of the vehicle. This blog walks you through the safe and effective process of jumpstarting a car. Read on this car jumping guide for the correct order of steps and essential checks, as little attention can keep your car running smoothly.
Basics of a Car Battery and Jumpstarting
How to jumpstart a car safely? Well, before getting into that, understand the steps of starting a car.
The car battery is responsible for delivering electrical energy to the engine and other components for smooth running. Forgetting to switch off the headlights, snowfall, or corroded terminals, all these conditions, over time, lead to difficulties in ignition. How does jumpstarting work? It uses a battery from another vehicle or a portable jump starter to provide power to the engine for a quick start. It is like a temporary boost of current offered to the engine to start, while allowing the alternator to recharge the battery naturally.
Things to consider? Connect the cables to the right terminals and follow the steps in the correct order – this will prevent damaged sensors, alternator failure, battery explosion, and blown fuses.
Jumpstart the Car Safely: Step-by-Step Process
A dead battery does not have to ruin your plans; here is the quick and safe process on how to start a dead battery car:
Step 1: Preparation and Tools Needed
First things first, gather the required materials to provide current to the battery for ignition. A set of booster cables, a donor car’s fully charged battery, protective gloves, and safety goggles – everything is a must-have for an effective and successful jumpstart.
Step 2: Keep the Car in an Adequate Position
The dead car and the donor car should be parked closely. The reason? This allows the jumper cable to connect both batteries effortlessly. Take care that the dead car and donor car are not touching each other, engines should be off, the keys should not be plugged in, the parking brakes should be engaged, and the cars should be in neutral (applicable for manual models) – all of these precautions will reduce the chances of short circuits.
Step 3: Recognise the Battery Terminals
Have you opened the bonnet? If not, then open it and locate the batteries. Look for the positive and negative terminals on both batteries for adequate connection. A positive terminal can be found wrapped in a red cover with a + symbol, and a negative terminal is coated in black with a – symbol.
Corroded terminals? Clean them with a soft cloth or brush to keep short circuits and electric shocks away.
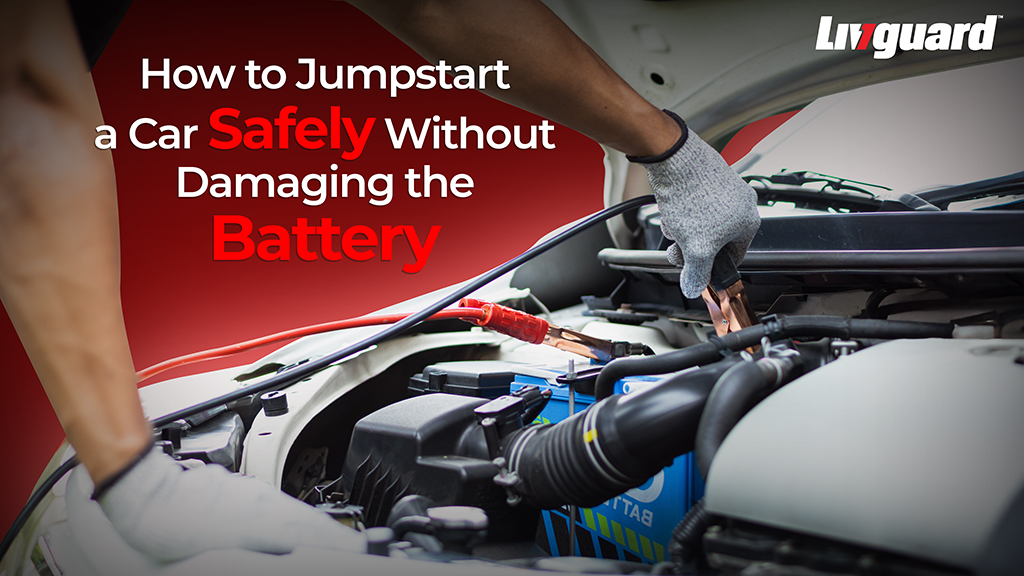
Step 4: Connect the Jumper Cables Correctly
This step in how to jump start a car safely is the most vital, and you cannot go wrong here. It is mandatory to connect the jumper cables in the right flow, as doing otherwise can cause fire sparks or short circuits. What do you need to do? Connect one red clamp to the positive terminal of the donor battery and the other red clamp to the positive terminal of the flat battery.
Next, attach one black clamp to the donor battery’s negative terminal, and the other one has to be connected to the unpainted metal part of the dead battery. The reason? It will act as a ground and reduce the chances of sparks. Also, if you connect the black cable to the negative terminal of the dead battery, you are inviting the hydrogen gas to explode.
Step 5: Start the Donor and Dead Vehicle
Are all connections securely connected? Start the engine of the donor car. Let the car run for a few minutes for a smooth transfer of current to the dead battery. Then start the car with a dead battery. Not starting? Before trying again, wait for a few more minutes, as constant cranking can impact the motor. Done with a few attempts and still silence? Faulty alternator, blown fuses, or damaged battery – these could be the potential issues.
Step 6: Keep the Engine Running
After the dead car starts, allow both cars to run to stabilise the charge effectively. Now, you have to disconnect the jumper cables in reverse order. First, detach the black clamp from the grounded metal of the car that was jump-started. Next, remove the black clamp and red clamp from the donor battery. Lastly, disconnect the red clamp from the jumpstart battery. What to ensure? Clamps do not touch each other while removing.
Step 7: Let the Jumpstarted Car Run
The mandatory thing to learn in the process of how to jumpstart an automatic car or a manual car? A minimum of 30 minutes of a short drive is required for the battery to get charged. Do not turn off the engine of the car as the battery can get discharged again, making ignition difficult.
Conclusion
The essential skill every driver should have is how to jump-start a car. When done correctly, it can help you save a great amount of money, time, and stress. Adequate jumper cables, the right step-by-step process, safety checks– everything is important for the protection of human life and the car on the road.
Do you think a flat battery means a faulty battery? Well, it is not true; sometimes the car battery needs an external boost. The lesser-known facts? If you are forced to jumpstart your car’s battery quite frequently, there is a chance that your battery is damaged or the alternator is faulty; this requires an inspection from a professional mechanic.
So, with a little extra care and an effective approach, it is very easy to overcome the flat battery crisis and get yourself drive-ready in no time – with no risk for harming the battery or electrical components of the car.